|
|||||||||||||||||||||||
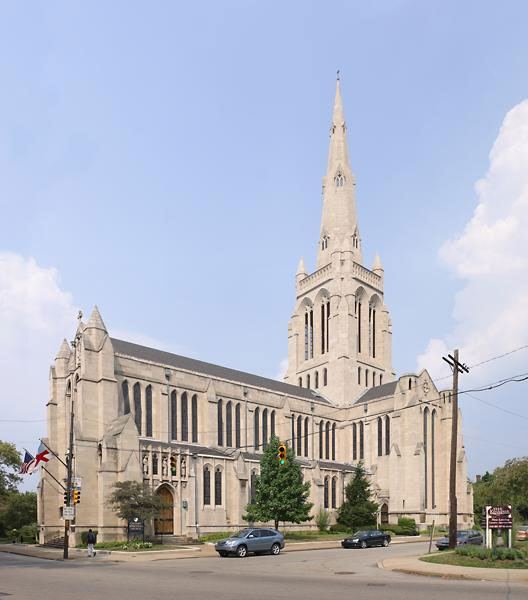
Step I -- Save or print the finished imageFinally, save or print the image. You can save as JPG, TIF, PNG or BMP if you just want to show it as a simple image or you can export to PTViewer or IVR format if you want to display the image in a VR viewer. I recommend exporting in PTViewer format. You can also use IVR, but it’s hard to find the IVR viewer these days. You cannot use QTVR because this example uses spherical projection and QTVR does not support spherical projection. In this example, we used Photoshop to fill the missing piece of sky at the upper left corner and to extend the blue sky a bit more above the top of the spire.
Calvary Episcopal Church,
Pittsburgh, PA Back to Step H -- Sharpen the image if desired Up to The list of the major steps |
|||||||||||||||||||||||
|
Revised: January 10, 2007 © 2007 Smoky City Design, LLC and John Strait |
|||||||||||||||||||||||