|
|||||||||||||||||||||||
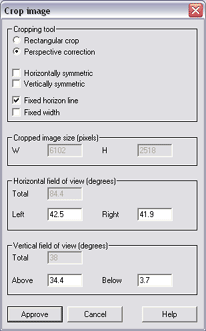
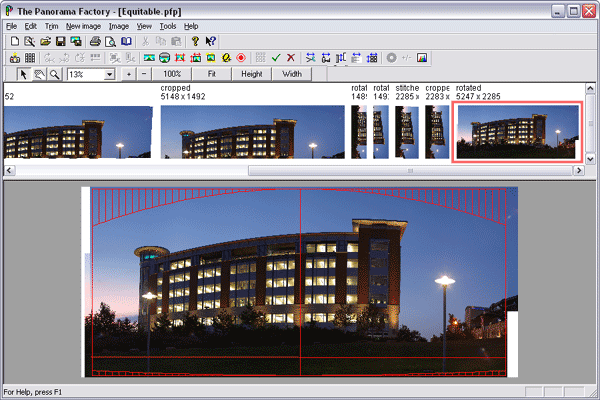
Step G -- Crop the imageIn this step, we crop the rotated image to remove extraneous white space. If we want to, we can simultaneously flatten the perspective.
Advance to Step H --Sharpen the image if desired Back to Step F -- Assign panoramic properties to the rotated image Up to The list of the major steps |
|||||||||||||||||||||||
|
Revised: January 31, 2006 © 1999-2006 Smoky City Design, LLC and John Strait |
|||||||||||||||||||||||